Replacing a water fixture in your home can seem daunting, but with the right guidance, it’s a straightforward task. This beginner-friendly tutorial will walk you through the process of fitting a new fixture to your sink. Whether you’re updating your kitchen or simply replacing an old model, this guide ensures a smooth experience.
Before starting, it’s essential to choose a fixture that matches your sink’s design. Common types in the UK include mixer, pillar, and bridge styles, each with similar installation steps. Safety is paramount, so always turn off the water supply and wear protective gear.
The process involves four key stages: preparation, removing the old fixture, fitting the new one, and conducting final checks. With basic tools and a bit of patience, you’ll have a fully functional tap in no time.
Key Takeaways
- Select a fixture compatible with your sink’s design.
- Ensure the water supply is turned off before starting.
- Use protective gear to avoid injuries.
- Follow the four main stages: preparation, removal, installation, and checks.
- Common UK styles include mixer, pillar, and bridge taps.
Preparation
Proper preparation is the key to a smooth and hassle-free installation process. Before diving into the task, ensure you have all the necessary tools and materials ready. This step not only saves time but also prevents unnecessary interruptions.
Gather the Necessary Tools and Materials
Having the right tools on hand is crucial. You’ll need open-ended spanners (13mm/17mm), an adjustable wrench, PTFE tape, and a basin wrench. Don’t forget a cleaning cloth and a washing bowl to catch any residual water. Most of these items are commonly found in a home toolkit, making the process more convenient.
Turn Off the Water Supply
Safety first! Always turn off the water supply before starting. You can do this by using the main stopcock or individual isolator valves. Once the water is off, run the taps to confirm the supply is completely shut off. This step prevents leaks and ensures a dry workspace.
You Might Also Like:


Clear the Work Area
Clear the area around your kitchen sink to ensure easy access. Lay down towels to protect the surface and use a bowl to catch any leftover water during disconnections. This simple step keeps your workspace tidy and prevents potential damage to your sink or surrounding surfaces.
For more detailed guidance, check out this helpful resource on preparing for a successful installation.
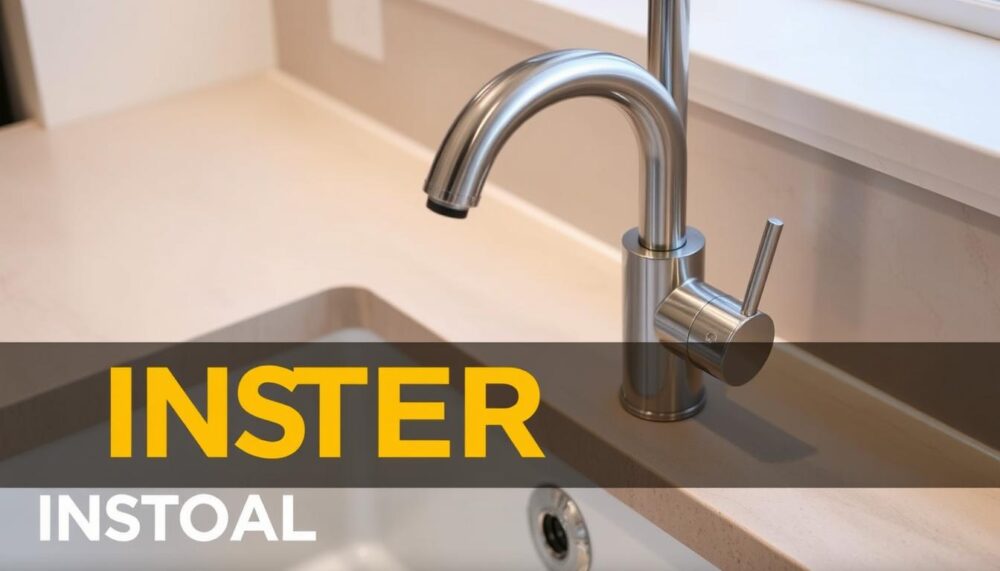
Step-by-Step Guide to Installing a Kitchen Sink Mixer Tap
Fitting a new water fixture doesn’t have to be complicated when you follow a clear guide. This section walks you through each step, ensuring a seamless process from start to finish.
Remove the Old Tap
Begin by carefully loosening the retention nuts underneath the sink using a basin wrench. Protect the edges of your sink from scratches by wrapping the wrench in a soft cloth. Once the nuts are removed, gently lift the old fixture out of its position.
Prepare the Sink Surface
Clean the area thoroughly with a non-abrasive cleaner to ensure proper adhesion for the new seal. Remove any debris or old tape from the hole to create a smooth surface. This step is crucial for preventing leaks and ensuring a tight fit.
Install the New Tap
Thread the hoses through the sink hole, ensuring they align correctly with the water supply lines. Apply PTFE tape to the threads in a clockwise direction for a secure seal. Tighten the nuts by hand first, then use a 17mm wrench to finish, avoiding overtightening.
Reconnect the Water Supply
Attach the hoses to the water supply lines, starting by hand to prevent cross-threading. Use a wrench to secure the connections, ensuring they are snug but not overly tight. Turn on the water supply and check for leaks to confirm everything is in place.
“Always start hose connections by hand to avoid cross-threading, which can damage the threads and cause leaks.”
By following these instructions, you’ll have a fully functional new tap installed in no time. Take your time with each step to ensure a professional finish.
Final Checks and Tips
Ensuring your new fixture works perfectly requires a few final checks and simple maintenance steps. These measures not only confirm everything is in place but also extend the lifespan of your unit. Let’s dive into the essential tasks to complete after installation.
Check for Leaks
Once the fixture is fitted, slowly reopen the stopcock to restore the water supply. Monitor all connections for a few minutes, using a dry cloth to check for any signs of a leak. If you notice water escaping, tighten the valves or apply fibre seals to the threads for a better seal.

Ensure Proper Functionality
Test both the hot water and cold water flow to make sure everything is working smoothly. Check the swivel range of the kitchen tap and the movement of the sprayer hose to confirm there are no obstructions. This step ensures your fixture operates as intended.
Maintenance Tips for Longevity
Regular maintenance keeps your fixture in top condition. Clean the aerator monthly to prevent debris buildup and inspect the seals bi-annually. For limescale removal in hard water areas, use a vinegar solution instead of harsh chemicals. This approach protects the finish and ensures long-lasting performance.
“A well-maintained fixture not only functions better but also enhances the overall look of your kitchen.”
For more detailed advice on maintaining your fixture, visit this helpful guide.
Conclusion
Upgrading your home’s water fixtures can be both rewarding and cost-effective. By tackling the installation yourself, you save on plumber fees while gaining valuable DIY skills. For future upgrades, explore the wide range of taps available at B&Q or GROHE, ensuring you find the perfect fit for your kitchen tap needs.
Don’t forget to check local recycling guidelines for disposing of your old fixture responsibly. After fitting your new unit, it’s normal to experience intermittent water flow initially. This usually resolves as air clears from the pipes.
If you have any questions or need personalised advice, feel free to leave a comment below. For more detailed guidance, visit this helpful resource.
FAQ
What tools are needed for the installation process?
You’ll need a wrench, adjustable spanner, screwdriver, plumber’s tape, and a bucket. These tools help ensure a smooth and secure fit for your new unit.
How do I turn off the water supply before starting?
Locate the isolation valves under the sink and turn them clockwise to shut off the flow. If there are no valves, you may need to turn off the main supply.
Can I install a mixer tap on my own?
Yes, with the right tools and instructions, it’s a straightforward DIY task. However, if you’re unsure, consulting a professional is always a good idea.
How do I ensure the tap is properly sealed?
Use plumber’s tape on the threads of the connections to create a watertight seal. Tighten the nuts securely but avoid over-tightening to prevent damage.
What should I do if I notice leaks after installation?
Double-check all connections and ensure they’re tightened properly. If leaks persist, reapply plumber’s tape or seek professional assistance.
How do I maintain my new mixer tap?
Regularly clean the unit with a mild detergent and avoid harsh chemicals. Check for leaks or wear periodically to ensure long-lasting performance.
Can I use the existing hoses for the new tap?
It depends on compatibility. Most modern taps come with their own hoses, so it’s best to use the ones provided for a secure fit.
How do I position the tap correctly?
Align the unit with the pre-drilled hole in the sink. Ensure it’s centred and level before tightening the fixing nut underneath.