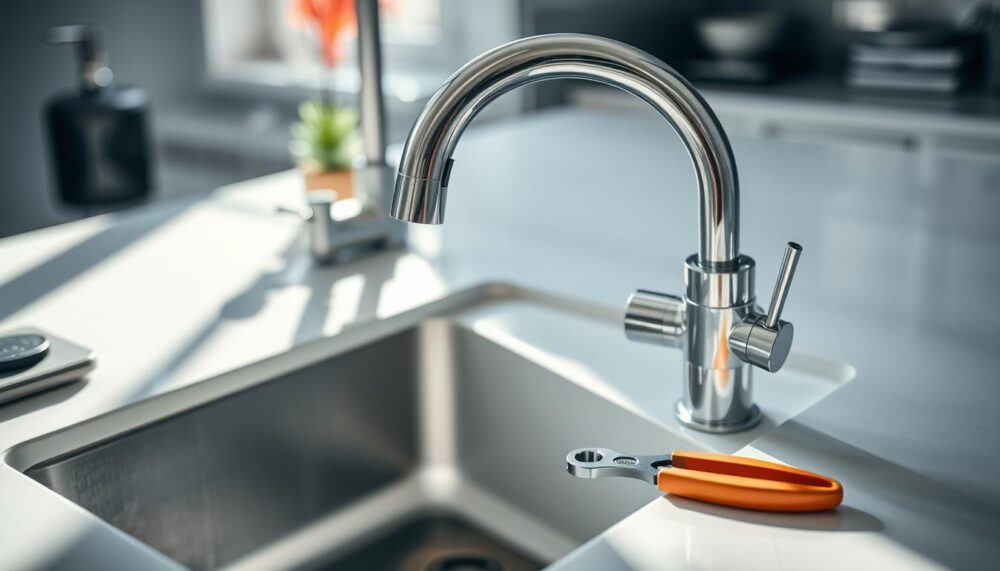
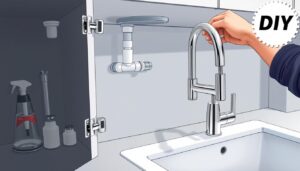
A new kitchen tap can quickly update your cooking space. This guide will help you install a kitchen tap easily. From tools to fitting, we’ll cover everything for your kitchen tap installation.
Replacing a kitchen tap can take an hour for experts. Beginners might need a full day. The process involves turning off water, preparing the area, and removing old taps1.
Next, clean the mounting surface and install the new tap. Reconnect the water supply and turn it back on1. Be careful not to over-tighten parts to avoid damage1.
You’ll need various tools for the job. These include open-ended spanners, a basin wrench, and adjustable pliers12. Turning off the water supply is crucial before starting2.
Follow these steps to transform your kitchen with a new tap. Proper preparation and attention to detail are key. If you struggle, don’t hesitate to ask a professional for help.
Preparing for the Installation
Gather the right tools and materials before installing a new kitchen tap. You’ll need spanners, wrenches, pliers, and cleaning supplies. Don’t forget PTFE tape, a pipe cutter, and compression fittings3.
These plumbing supplies ensure a smooth installation process. Having everything ready will make the job much easier.
Turning Off the Water Supply
Isolate the water supply before removing the old tap. Find the isolating valve on the pipe supply system. Turn it a quarter turn to shut off the water3.
If there are no isolation valves, turn off the main stopcock3. Run the tap until the flow stops to ensure the water is off3.
Proper preparation and the right tools for kitchen tap installation ensure a successful experience. With care and the correct DIY tap replacement kit, you can transform your kitchen4.
For a detailed guide on installing a new kitchen tap, check out our step-by-step instructions3.
“Preparing for the installation is key to a successful kitchen tap replacement project.”
Removing the Old Kitchen Tap
Replacing a kitchen tap can be straightforward if you remove the old one properly. Turn off the water supply before starting. Then, disconnect and extract the old faucet5.
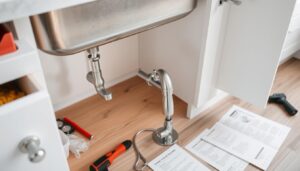
Clear the area under the sink for ample workspace. Place a towel and bowl to catch any water. Use an open-ended spanner to loosen the nut joining the tap and pipe6.
Support the tap to prevent twisting. For flexible hoses, loosen nuts at mains connections or isolator valves. Use adjustable pliers to grip the connection or valve6.
- For flexible hose connections, loosen the nuts where they join the mains water pipe connections or isolator valves, using adjustable pliers to grip the connection or valve6.
- Once the water connections are disconnected, you can remove the tap by loosening the nut that clamps it to the mounting surface6.
After removing the old tap, prepare to install the new one. Careful planning and attention to detail ensure a successful kitchen tap replacement6.
“Leaking taps are a common issue that needs to be fixed promptly to avoid costly repairs.”
how to install kitchen tap
Installing a new kitchen tap can be straightforward with proper preparation. A step-by-step approach ensures a successful and lasting installation7.
Start by cleaning the mounting surface thoroughly. For pillar and bridge taps, apply PTFE tape to the mains connection threads7. Feed the connections through the hole, minding sharp edges on stainless steel sinks.
Under the sink, apply gaskets, washers, or retaining plates as instructed. Tighten the retaining nut securely7.
For mixer taps, screw hoses into the base. Feed connections through the hole and secure the tap in place.
- Turn off the water supply before starting the kitchen tap installation8.
- Use proper tools like adjustable wrench, basin wrench, and slotted screwdriver7.
- Follow the manufacturer’s instructions for a successful DIY tap replacement7.
By following these steps, you can confidently fit a new faucet. Enjoy your freshly installed, functional kitchen tap78.
“The key to a successful kitchen tap installation is meticulous preparation and attention to detail.”
Understanding the process and following guidance is crucial. This ensures a seamless step-by-step kitchen tap installation78.
Finalising the Installation
Your new kitchen tap is now securely in place. It’s time to reconnect the water supply and test the new tap. This step is vital to finish the installation process9.
Turning on the Water Supply
For standard pipes, start threads by hand to avoid cross-threading. Then, tighten the connection with an open-ended spanner10.
For flexible hoses, screw connector nuts to mains pipe connections or isolator valves. Tighten them with an adjustable spanner while supporting the connection below10.
Now, turn the water supply back on. Adjust the isolating valve or reopen the main stopcock10. Test the new tap by turning it on. Check for leaks or drips and make adjustments if needed10.
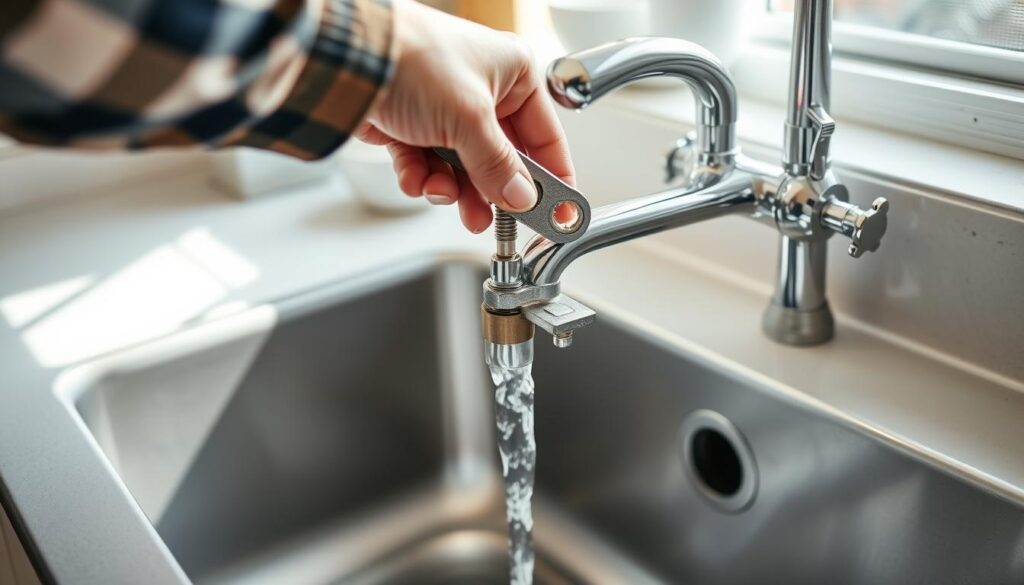
“Ensuring a proper water connection and thoroughly testing the new tap is crucial for a successful kitchen tap installation.”
By reconnecting the water supply and testing the new tap, you’ll ensure a job well done. Your kitchen tap is now ready for use910.
Maintenance and Troubleshooting
Regular upkeep of kitchen taps is vital for efficient function. Clean with vinegar or lemon juice to prevent limescale build-up. Tighten loose parts and check for leaks to extend tap lifespan11.
Quick problem identification is crucial for tap issues. Common problems include dripping, low pressure, and leaking mixer taps. Many can be fixed with simple DIY repairs11.
- Dripping taps often need a new washer or O-ring11.
- Low pressure may be due to clogged aerators or valves. Clean or replace these parts11.
- Stiff taps can be improved by lubricating the spindle or cartridge11.
If problems persist, consult a professional plumber. Sometimes, replacing a tap can be more cost-effective than repairing, especially for older models11.
“Proper maintenance and DIY solutions can save homeowners time and money, reduce water wastage, and keep homes running smoothly.”11
These tips ensure your kitchen taps remain in top condition. Regular maintenance and DIY repairs can save time and money. Your taps will provide reliable, long-lasting performance11.
Conclusion
You’re now equipped to install a new kitchen tap in your home12. Experienced DIYers can complete this task in under an hour12. Proper preparation with the right tools ensures a smooth installation process.
13 A staggering 80% of kitchen taps show signs of wear from regular use13. It’s crucial to maintain and replace your tap when needed13. Updating your tap can modernise your kitchen and improve water flow.
You could save £150 to £400 in professional fees by doing it yourself13. This guide has given you the know-how to upgrade your kitchen’s appearance or replace a worn-out tap.
Take your time and follow the manufacturer’s instructions carefully. Don’t hesitate to seek professional assistance if you encounter any problems. With patience, you can successfully upgrade your kitchen fixtures.
FAQ
What tools and materials are needed for installing a new kitchen tap?
You’ll need spanners, a basin wrench, and a back nut box spanner. Adjustable pliers, a cleaning cloth, and PTFE tape are also essential. Don’t forget a washing bowl, towel, and adjustable wrench.
A slotted screwdriver, pipe cutter, and compression fittings are useful too. Lastly, grab a hacksaw, limescale remover, masking tape, pen, and joining compound.
How do I turn off the water supply before removing the old kitchen tap?
Find the isolating valve on the pipe supply system. Turn it a quarter turn to shut off the water. If there’s no valve, turn off the main stopcock.
Run the tap until the flow stops. This ensures the water is completely off.
What steps are involved in removing the old kitchen tap?
Clear the area under the sink and lay down a towel. Have a bowl ready to catch any water. Loosen the nut where the tap joins the pipe.
For flexible hoses, loosen the nuts at the mains connections. Use adjustable pliers to grip the connection or valve. Remove the tap by loosening the mounting nut.
How do I install the new kitchen tap?
Clean the mounting surface thoroughly. For pillar taps, apply PTFE tape to the lower threads. Feed the mains connections through the hole.
Apply gaskets and washers as instructed. Tighten the retaining nut. For mixer taps, screw hoses into the base and secure in place.
How do I reconnect the water supply to the new kitchen tap?
Start threads by hand to avoid cross-threading. Tighten connections with a spanner. For flexible hoses, screw connector nuts to mains or isolator valves.
Turn the water supply back on. Test the tap and check for leaks. Make adjustments if needed.
How do I maintain and troubleshoot my new kitchen tap?
Clean the tap regularly to prevent limescale and debris build-up. This keeps it working well. If it drips, try tightening connections or replacing washers.
For persistent problems, seek help from a professional plumber. Regular maintenance ensures your tap’s longevity and performance.

