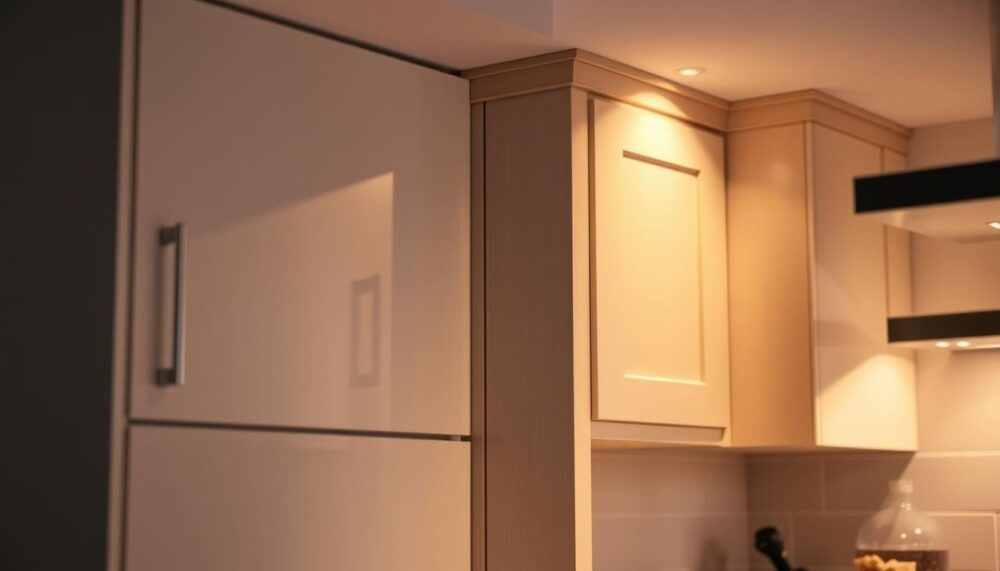
Getting the corner post right in your kitchen design ensures both stability and a polished finish. Whether you’re renovating or building from scratch, proper installation prevents common issues like misaligned doors or uneven gaps.
For UK homeowners, B&Q units offer reliable solutions, but fitting them requires attention to detail. Many DIY enthusiasts face challenges with spacing and alignment, leading to frustrating setbacks. This guide simplifies the process, helping you achieve professional results.
From measuring accurately to securing the structure, each step matters. Avoid costly mistakes by following expert advice tailored for British kitchens.
Key Takeaways
- Precise measurements prevent alignment issues in your kitchen unit.
- B&Q corner posts require specific techniques for seamless integration.
- Proper spacing ensures doors and drawers function smoothly.
- Structural stability depends on correct installation methods.
- Common pitfalls include uneven gaps and misaligned fittings.
Introduction to Fitting a B&Q Kitchen Corner Post
Structural integrity in kitchen cabinets starts with proper corner post installation. These vertical supports connect base units at right angles, ensuring alignment and preventing door clashes. Without them, even minor shifts can cause frustrating operational issues.
Corner posts serve a dual purpose. They stabilise kitchen units while creating a seamless transition between cabinets. B&Q offers two main types: fixed posts for rigid layouts and adjustable ones for flexible spacing. Each pack typically includes screws and brackets for straightforward assembly.
One DIYer noted, “A 1mm gap due to uneven post fitting forced me to realign the entire cabinet.” Such precision matters because misaligned posts affect door swing and drawer glide. Investing time upfront avoids costly adjustments later.
Choosing the right type corner post—fixed or adjustable—depends on your kitchen’s layout. Fixed posts suit permanent installations, while adjustable variants accommodate uneven walls. Both ensure cabinets function smoothly when fitted correctly.
Preparation: Getting Ready for Installation
Proper preparation sets the foundation for flawless corner unit installation. Begin by gathering essential tools to avoid interruptions. You’ll need:
- Clamps to hold components steady
- A drill with screwdriver bits
- Spirit level for alignment checks
- Tape measure for precise dimensions
Identify your post type before starting. Fixed posts measure 60x60mm and come as a single piece. Adjustable variants span 50-2500mm and include two pieces for flexible fitting.
| Type | Dimensions | Components |
|---|---|---|
| Fixed | 60x60mm | Single-piece |
| Adjustable | 50-2500mm | Two-piece + MFC section |
Unpack all parts carefully. Part 1 replaces the cabinet panel, while Part 2 is cut to size. The MFC section (Part 3) connects to the corner unit.
Check cabinet alignment with a spirit level. Even a slight tilt affects door operation. Always wear safety goggles when cutting or drilling to protect against debris.
Step-by-Step Installation Guide
Accurate installation of the corner support ensures your cabinets function smoothly for years. Follow this systematic process to avoid common pitfalls like warping or misaligned doors.
Step 1: Removing the MFC Panel
Begin by detaching the MFC panel from the cabinet. Use a screwdriver to carefully remove any fixings. Label the screws for reassembly later.
Inspect the exposed area for debris. A clean surface ensures better adhesion for the new post.
Step 2: Measuring and Cutting Corner Post Part 2
Measure the gap between units precisely. Adjustable posts require cutting Part 2 to match your cabinet’s dimensions.
Mark the cutting line with a pencil. Use a fine-tooth saw for clean edges. Double-check measurements before cutting to avoid errors.
Step 3: Connecting Part 3 to Part 2
Slot Part 3 into the modified Part 2. Align the grooves and press firmly until they click together.
Secure the connection with screws. Pilot holes prevent splitting the material. Conceal fixings behind hinge plates for a neat finish.
Step 4: Securing the Corner Post
Position the assembled post between the cabinets. Check top and bottom alignment with a spirit level.
- Tighten screws in a star pattern to distribute pressure evenly.
- Load-test by gently pulling the post to confirm stability.
- Adjust adjacent units if doors don’t close smoothly.
Finally, test all doors and drawers. Minor tweaks now save hassle later.
Types of Corner Posts: Fixed vs. Adjustable
Choosing between fixed and adjustable corner posts affects both functionality and aesthetics. Each type serves distinct purposes, depending on your layout and requirements.
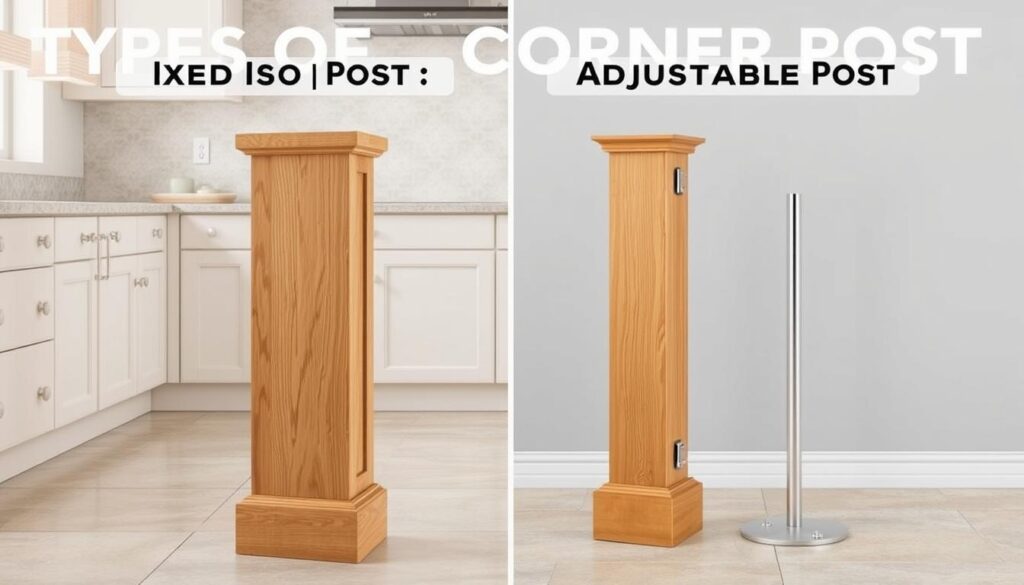
Fixed posts measure 60x60mm and come as a single piece. They’re ideal for standard layouts where walls are perfectly square. Their rigid design ensures stability but offers no flexibility for adjustments.
Adjustable posts range from 50–2500mm and include two pieces. These suit uneven walls or custom designs. A DIYer shared, “My 627mm gap required creative trimming—adjustable posts saved the project.”
| Feature | Fixed | Adjustable |
|---|---|---|
| Dimensions | 60x60mm | 50–2500mm |
| Flexibility | None | High |
| Cost | Lower | Higher |
Cost implications vary. Fixed posts are budget-friendly but limit design options. Adjustable ones cost more but adapt to non-standard corners.
- Warranty note: B&Q may void guarantees if posts are modified beyond guidelines.
- Design tip: Measure twice to avoid gaps exceeding adjustable limits.
For tricky spaces, combine fixed posts with filler panels. This maintains stability while accommodating odd angles.
Design and Practical Considerations
Balancing aesthetics and practicality ensures long-term satisfaction with your layout. Minor gaps or misaligned finishes can disrupt the harmony of your space, so attention to detail matters.
Align posts with cabinet doors for a seamless appearance. Even a 2mm offset can create visible shadows, drawing attention to imperfections. Use a spirit level during post fitting to guarantee uniformity.
Enhance your kitchen looks by coordinating finishes. Match the post’s colour with handles or worktops for cohesion. Pro tip: Sample swatches help visualise the final result before committing.
- Plinth boards: Ensure the bottom edge aligns flush with the post. Overhangs collect dust and complicate cleaning.
- Period properties: Older homes often have uneven walls. Adjustable posts or filler panels bridge gaps gracefully.
- Maintenance: High-traffic corners benefit from wipeable finishes. Avoid porous materials near sinks or cooktops.
In modern kitchens, seamless integration with worktops elevates the design. Allow a slight overhang (5–10mm) to conceal the post’s top edge. This trick creates a streamlined, custom look.
One homeowner noted, “Choosing a matte black post made our handles pop without overwhelming the space.” Small choices yield significant visual impact.
Conclusion
Getting the measurements right is the foundation of a sturdy and polished finish. Taking your time during alignment prevents frustrating setbacks later. A rushed job often leads to uneven gaps or misaligned doors.
If you encounter tricky angles or sizing issues, B&Q’s technical support can offer guidance. Their expertise ensures your work meets professional standards. Don’t hesitate to reach out—better safe than sorry.
Once the post is secure, you’re ready to move on to other installation phases. Each step builds toward a cohesive and functional space. With patience and precision, even DIYers can achieve quality results.
Remember, small details make a big difference in your kitchen. A well-fitted corner unit enhances both aesthetics and durability. Happy building!
FAQ
What tools are needed to install a B&Q kitchen corner post?
You’ll need a screwdriver, measuring tape, saw, drill, and screws. A spirit level ensures accuracy during fitting.
Can I adjust the corner post after installation?
Some models allow minor adjustments, but fixed types require precise fitting during assembly. Check the product specifications.
How do I ensure the corner post aligns with my kitchen units?
Measure the gap between cabinets carefully before cutting. Use a spirit level to confirm alignment before securing screws.
Are B&Q corner posts compatible with all kitchen designs?
Most standard units work, but check dimensions and hinge placement if fitting bespoke or non-standard cabinet doors.
What’s the difference between fixed and adjustable corner posts?
Fixed types offer stability, while adjustable ones allow minor tweaks. Choose based on your kitchen layout and door alignment needs.
How do I remove the MFC panel safely?
Unscrew it gently to avoid damaging the unit. Keep screws handy for reattaching later if needed.
Can I fit a corner post myself, or should I hire a professional?
DIY is possible with basic tools and patience. For complex layouts, consider professional help to ensure seamless integration.

