Transforming your space into a stylish yet functional retreat doesn’t have to be overwhelming. Whether you’re aiming for a sleek modern look or a cosy traditional feel, thoughtful planning ensures a smooth process. The key lies in balancing aesthetics with practicality, especially when dealing with plumbing and electrical adjustments.
Before diving in, consider your budget and spatial limitations. Proper preparation helps avoid costly mistakes. It’s also wise to familiarise yourself with UK building regulations to ensure compliance. A mood board can help visualise your vision, blending British home improvement trends with personal style.
Safety should always come first. Allocate enough time—typically over a month—for a stress-free experience. With careful planning, even complex tasks become manageable. Let’s explore how to create a space that’s both beautiful and practical.
Key Takeaways
- Thorough planning prevents costly errors during renovations.
- Balance aesthetic goals with technical requirements like plumbing.
- Always prioritise safety and compliance with UK regulations.
- Budget management and material selection are crucial for success.
- Mood boards help align personal style with current trends.
1. Planning Your DIY Bathroom Renovation
A well-structured plan is the foundation of any successful home improvement project. Taking the time to assess your space, set a realistic budget, and choose the right materials ensures a smooth process. This step-by-step approach minimises stress and helps avoid costly mistakes.
Assessing Your Space and Needs
Start by measuring your room and noting existing features like plumbing and electrical wiring. Create both “as-is” and “future state” drawings to visualise changes. Grid paper or digital tools like SketchUp can help with scaled floor plans.
Consider storage solutions, especially in smaller spaces. Vertical shelving or recessed cabinets maximise room without clutter. Check pipe diameters and drain positions—this is crucial if you plan to relocate fixtures.
Creating a Layout and Budget
Allocate funds wisely to avoid overspending. A typical breakdown includes:
| Category | Percentage |
|---|---|
| Materials | 50% |
| Labour Savings | 30% |
| Contingency | 20% |
Compare costs for refacing versus replacing cabinets. Refacing can save up to 40% but may not suit older structures. Always account for British building regulations, particularly for Victorian-era plumbing updates.
Choosing Materials and Fixtures
Opt for British Standard-compliant products, such as BS EN 14516 baths. For lighting near showers, select fixtures with appropriate IP ratings (BS 7671). Waterproof materials like ceramic tiles or vinyl flooring work best for walls and floors.
Prioritise durability and ease of maintenance. Chrome taps and quartz countertops offer longevity while keeping a sleek look. Don’t forget to factor in lead times for delivery—some items may take weeks.
Key Checks Before Starting:
- Verify electrical zones and waterproofing requirements
- Assess damp prevention needs, especially in older homes
- Confirm waste disposal methods for old fixtures
2. Preparing and Demolishing Your Bathroom
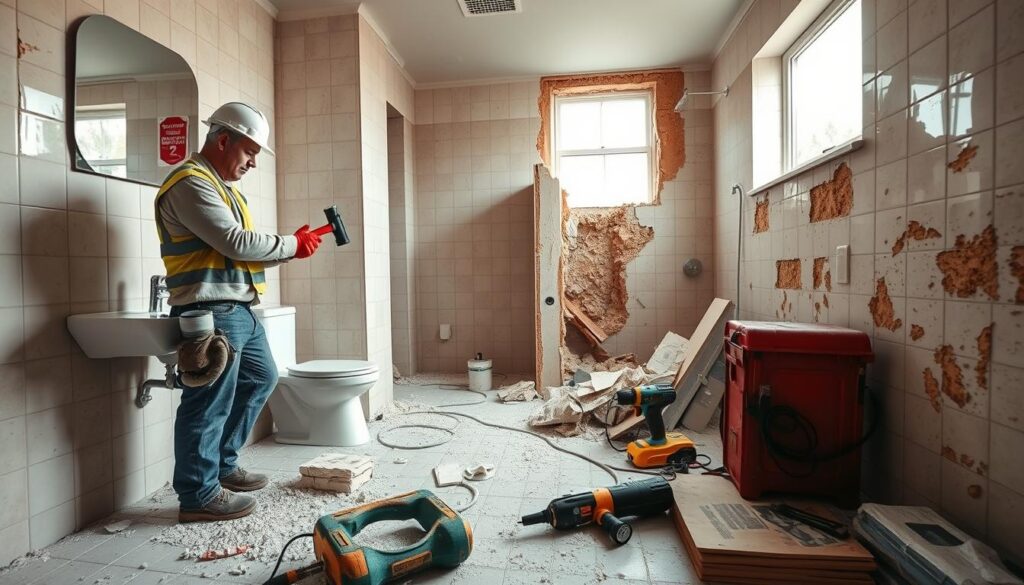
Taking apart an old space requires careful steps to avoid costly errors. Begin by isolating utilities and protecting original features, especially in period homes. A systematic approach ensures minimal disruption and safer working conditions.

Safely Removing Old Fixtures and Tiles
Turn off the water supply at the stopcock before disconnecting sinks or baths. For stubborn wall tiles, use a scraper or SDS drill to avoid damaging plaster. Victorian-era tiles may need gentle prying—apply heat to loosen adhesive if needed.
Wear PPE like goggles and dust masks when handling floor tiles or ceramic debris. Temporary plastic sheeting prevents dust from spreading to other rooms. Salvage reusable materials, such as cast-iron tubs, for upcycling or resale.
Handling Plumbing and Electrical Systems
Drain pipes completely to prevent leaks during removing bath units. Cap exposed pipes with push-fit connectors for temporary safety. Older British wiring systems may need professional inspection before dismantling.
Key precautions: Label circuits clearly, and avoid cutting wires until power is confirmed off. For lighting near wet areas, note IP ratings to guide future upgrades. Keep tools like voltage testers handy.
Disposing of Waste Responsibly
UK councils have strict rules for construction waste. Separate materials like ceramics, metals, and hazardous items (e.g., pre-2000 asbestos). Many recycling centres accept floor tiles if cleaned and sorted.
| Waste Type | Disposal Method |
|---|---|
| Ceramic tiles | Local recycling centre |
| Plasterboard | Designated skip hire |
| Asbestos | Licensed contractor only |
Hiring a skip? Check weight limits and permits. For smaller projects, step-by-step bag collection services may be cheaper. Always prioritise safety and legality to avoid fines.
3. Installing New Features and Fixtures
Upgrading your space with modern fittings enhances both style and practicality. Whether you’re fitting a sleek shower or a water-saving toilet, careful installation ensures durability. Start by reviewing British Standards like BS 5385 for tiling and Part P for electrical safety.
Laying Floor and Wall Tiles
For wet areas, waterproofing is critical. Use British-made tanking membranes behind tiles to prevent damp. Porcelain resists UK humidity better than ceramic, but both require adhesive suited to your walls or floor.
Cutting tiles around pipes? Score gently with a diamond blade. For a step-by-step guide on intricate patterns, this resource simplifies the process.
Fitting Bathroom Suites and Storage
Position toilets 15cm from side walls for comfort. Opt for WCs meeting UK Water Regulations—look for the WRAS mark. When installing cabinets, recessed BS EN 131 models save space without sacrificing storage.
Low-profile shower trays suit compact rooms. Ensure waste pipes align correctly to avoid leaks. Heated towel rails? Place them near showers for quick drying and warmth.
Updating Lighting and Accessories
IP-rated fixtures are mandatory near water sources. For ambient lighting, LED strips under cabinets add a modern touch. Extractors compliant with Part F prevent mould—fit them close to the shower.
Underfloor heating systems must match UK voltage (230V). Always test circuits before finalising placements. Chrome finishes on taps and rails tie the new bathroom look together effortlessly.
4. Safety Tips for DIY Bathroom Renovations
Prioritising safety ensures your project runs smoothly without unnecessary risks. From handling plumbing to managing electrical wiring, each task requires careful attention. A proactive approach minimises accidents and keeps your home compliant with UK regulations.

Working with Plumbing and Electricals
Always shut off the water supply and power at the mains before starting. For plumbing work, use push-fit caps on exposed pipes to prevent leaks. Electrical upgrades must follow Part P regulations—hire a certified electrician for complex tasks.
Key precautions:
- Use RCD-protected circuits for all new electrical wiring.
- Label circuits clearly and test wires with a voltage detector.
- Follow manufacturer instructions for TMV3 valves to prevent scalding.
Using Tools and Protective Gear
Invest in quality tools like HSS blades for cutting pipes. Wear PPE—gloves, goggles, and dust masks—when removing tiles or handling adhesives. For high ceilings, secure ladders at a 75° angle for stability.
Remember: Non-slip footwear reduces falls on wet surfaces. Keep workspaces tidy to avoid tripping hazards.
Avoiding Common Mistakes
Check for load-bearing walls before drilling. Use waterproof sealants correctly to prevent damp. For waste disposal, separate materials like plasterboard and ceramics at local recycling centres.
Final inspection checklist:
- Verify drainage gradients and seal integrity.
- Ensure extractor fans meet Part F ventilation standards.
- Obtain test certificates for all new electrical work.
For more detailed guidance, explore these step-by-step safety tips tailored to UK homes.
5. Conclusion: Enjoy Your Newly Renovated Bathroom
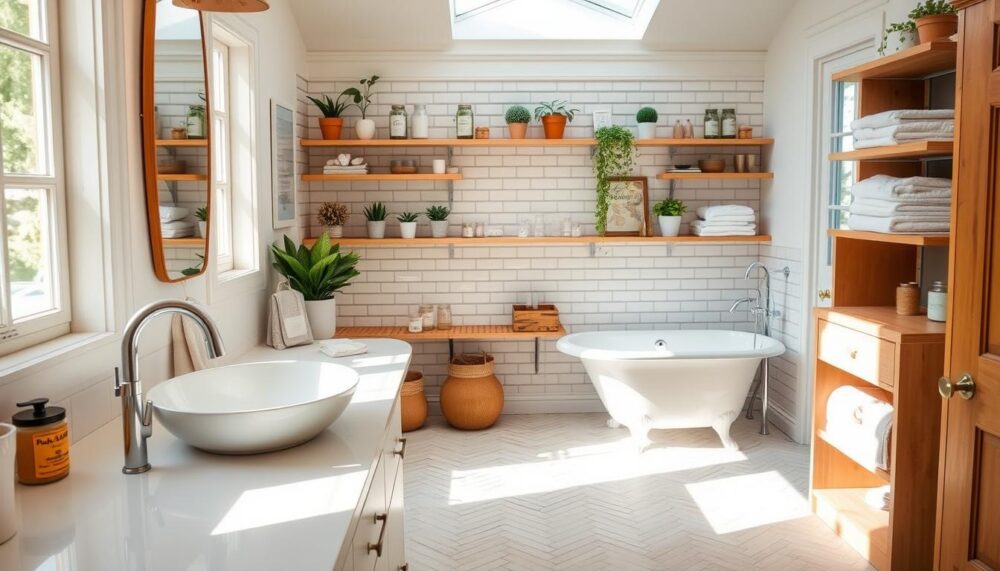
Your refreshed space now combines style with everyday practicality. After your bathroom renovation, conduct a 72-hour leak test on joints. Check taps and shower seals to ensure a flawless finish.
Maintain your diy bathroom with seasonal checks. Wipe down surfaces with pH-neutral cleaners to protect tiles. UK-made accessories, like those from CP Hart, add personality without clutter.
Energy-saving touches, such as aerated taps, cut costs. Soft LED lighting enhances the design, while British ferns bring nature indoors. For warranties, keep receipts and consult professionals if needed.
Finally, celebrate your transformed home. A little care ensures it stays fresh for years. Well done!
FAQ
How do I plan a successful home improvement project?
Start by assessing your space and needs. Measure the area, consider storage solutions, and set a realistic budget. Choose durable materials and stylish fixtures that fit your vision.
What’s the best way to remove old tiles and fixtures?
Use a pry bar and hammer for tiles, ensuring you wear safety goggles. Turn off water and electricity before removing sinks or showers. Dispose of waste at a local recycling centre.
Should I hire a professional for plumbing and electrical work?
If you’re unsure, it’s best to consult a certified plumber or electrician. Incorrect installations can lead to leaks or hazards. Always follow manufacturer instructions for fittings.
What’s the easiest flooring option for a quick refresh?
Vinyl flooring is affordable, water-resistant, and simple to install. Peel-and-stick options work well for a weekend project. Ensure the subfloor is clean and level before application.
How can I maximise storage in a small space?
Floating shelves, mirrored cabinets, and recessed niches save room. Opt for slimline basins and wall-mounted toilets to free up floor space.
What safety gear should I wear during the project?
Wear gloves, goggles, and a dust mask when demolishing or cutting materials. Non-slip shoes protect against wet surfaces. Keep a first-aid kit nearby.
How long does a typical refresh take?
A basic update (painting, new fixtures) takes 3–5 days. Full remodels with tiling and plumbing can take 2–3 weeks. Always factor in drying times for adhesives and paint.


