Fancy a kitchen makeover? Installing new wall cabinets can be a brilliant DIY project. It needs careful planning and execution. This guide will help you install wall cabinets like a pro.
We’ll cover everything from choosing tools to hanging cabinets. Our step-by-step instructions will boost your confidence. You’ll create a stunning kitchen that meets your storage needs.
Ready to transform your kitchen? Let’s dive into the world of cabinet installation!
Preparing for Wall Cabinet Installation
Tools and Materials Required
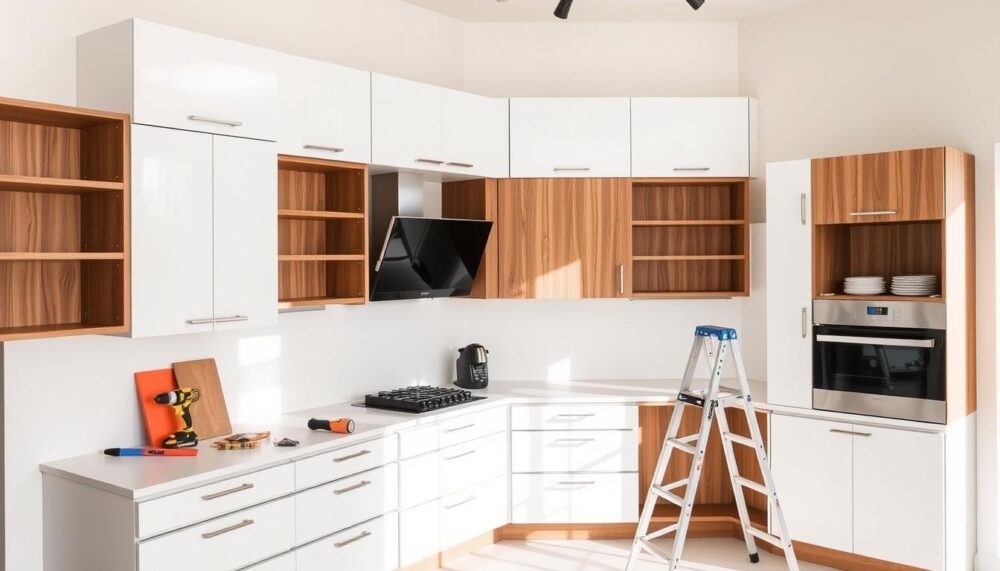
To install wall cabinets, you’ll need specific tools and materials. Essential tools include a step ladder, spirit level, and pipe detector. You’ll also need a drill, screwdriver, rulers, and a pencil1.
For safety, use protective goggles and gloves1. Key materials are the cabinets, wall plugs, and screws2. Wall units come in various widths, from 300mm to 1200mm2.
Gather all items before starting. This ensures a smooth kitchen renovation. Proper preparation can make the installation process much easier.
You Might Also Like:


- Step ladder – for safe access to the wall cabinets
- Spirit level – to ensure the cabinets are properly aligned
- Pipe and cable detector – to locate any hidden wiring or plumbing
- Drill and drill bits – for creating pilot holes and securing the cabinets
- Screwdriver – for assembling and securing the cabinets
- Metal ruler and tape measure – for accurate measurements
- Pencil – for marking the wall for cabinet placement
- Protective goggles and gloves – for safety during the installation
Having all tools and materials ready beforehand is crucial. It makes the cabinet installation process smoother and more efficient. Proper preparation can save time and reduce stress.
Marking the Wall for Cabinet Placement
Marking the wall is crucial before installing wall cabinets. Use a spirit level to define bottom and side edges of cabinet positions. Typically, wall cabinets in a kitchen are placed 450-500mm from the top of the worktop or in alignment with any adjacent tall units.3
Precise marking creates a clear layout for the cabinets. This step is vital for a smooth installation process. Careful measuring now will prevent future issues.
- Use a spirit level to mark the bottom and side edges of the wall unit placement.
- Typically, wall cabinets should be installed 450-500mm from the top of the worktop or in line with adjacent tall units.
- Clearly define all the corners to create a precise layout for the cabinets.
“Proper planning and attention to detail can help avoid common issues during cabinet installation.”3
Thorough marking wall for kitchen cabinets and planning cabinet layout sets the stage for success. This careful approach ensures your kitchen renovation flows smoothly from start to finish.
Locating and Fixing the Wall Brackets
Securely fixing wall brackets is vital when installing kitchen wall cabinets. These cabinets are typically placed 450-500mm above the worktop. It’s wise to have help when removing wall cabinets for safety4.
Wall hung kitchen cabinets can be installed at the same height. Careful handling is crucial during the removal process4.
- Check the manufacturer’s instructions for correct bracket placement. Each unit usually needs two brackets, one in each top corner5.
- Mark the bracket positions and use a cable detector to check for hidden obstructions6.
- Drill holes, insert wall plugs, and screw the brackets securely into the wall6.
Wall cabinet brackets can be adjusted using the inside adjuster block. Proper door alignment is crucial for enhancing the kitchen’s overall look4.
These adjustments can significantly impact the cabinets’ aesthetic appeal5.
These steps ensure secure wall cabinet installation. For more kitchen renovation tips, check out our full guide.
Hanging the Wall Cabinets
It’s time to hang the kitchen wall cabinets. Lift the cabinet above the brackets. Lower it carefully so the unit brackets hook onto the wall brackets4.
Large cabinets may require an extra pair of hands4. Use a spirit level to ensure the cabinet is perfectly level. Adjust the bracket height with the adjuster block if needed7.
Repeat this process for all remaining wall cabinets. Take care to secure and level each one as you go.
Lifting and Securing the Cabinets
- Start by lifting the wall cabinet slightly above the mounted brackets.
- Carefully lower the cabinet, guiding the unit brackets onto the wall brackets.
- Use a spirit level to check the cabinet’s alignment and make any necessary adjustments to the bracket height7.
- Repeat the process for all the other wall cabinets to ensure a consistent and secure installation4.
“Proper hanging and securing of wall cabinets is crucial for both the safety and aesthetics of your kitchen.” – Kitchen Renovation Specialist
https://www.youtube.com/watch?v=yEWL14j-D2Y&pp=ygUQI2tpdGNoZW53YWxsdW5pdA%3D%3D
By following these steps, you can confidently hang and secure your new kitchen wall cabinets. This will create a stunning and functional kitchen space74.
If you need more help, check the IKEA installation guide7. You can also ask a professional kitchen installation service for assistance4.
how to install wall cabinets in kitchen
Installing kitchen wall cabinets can boost your room’s function and style. This DIY project can be a game-changer for your kitchen renovation. Let’s dive into the steps for hanging wall cabinets.
- Start by marking the wall where the cabinets will go. Use a spirit level for accurate placement8.
- Find and fix wall brackets. Drill into the wall using proper wall plugs and screws8.
- Hang the wall cabinets on the brackets. Lift them into position and secure them8.
- Use a spirit level to check if cabinets are level. Make adjustments as needed8.
The standard height for mounting kitchen wall cabinets is 8 or 9 feet high. Set the bottom edge about 54 inches from the ground9.
Drill two pilot holes through each mounting rail. Secure cabinets with 2 1/2-inch washer head cabinet screws9.
For narrow cabinets, try French cleats or toggle screws. Always secure the cabinet to a stud for stability9. After installation, check for stability and levelness9.
“Proper planning, attention to detail, and the right tools are key to a successful DIY wall cabinet installation in the kitchen.”
Follow these guidelines for a confident DIY wall cabinet installation. Transform your kitchen layout with precision and care. Prioritise safety and attention to detail for a flawless finish89.
Adjusting and Levelling the Cabinets
After installing kitchen wall cabinets, adjustments may be necessary. Adjusting kitchen wall cabinets and levelling wall cabinets are vital for a flawless kitchen setup10.
Making Adjustments for Perfect Alignment
Use adjuster blocks and hinge screws to adjust cabinets in all directions. Support the cabinet while making changes to avoid sudden shifts10.
Follow the manufacturer’s guidelines carefully. Use a spirit level to check alignment until you achieve the desired result10.
- Adjust the cabinets to ensure they are level across the front face.
- Ensure the bottom of the upper cabinets is also level11.
- Use bevel fill strips at a 7-10 degree angle to cover any gaps between cabinets and walls11.

“Precise positioning, alignment, and proper installation of drawers and cabinet doors are essential for a successful DIY kitchen cabinet installation.”11
Careful adjustment and levelling of kitchen wall cabinets ensures a functional and appealing kitchen. This process helps meet your specific needs and preferences101211.
Finishing Touches
The final step after installing your kitchen wall is adding finishing touches. This includes fitting extra hardware and securing cabinets to the wall13.
Check the alignment and level of cabinets. Make final adjustments as needed. Enjoy your newly transformed kitchen space14.
Consider adding glass-panelled doors to some cabinets. This can boost visual appeal and functionality. Install interior shelving or organisers to maximise storage14.
- Ensure all cabinet doors and drawers are properly aligned and adjusted for smooth operation.
- Apply a bead of caulk around the perimeter of the cabinets to seal any gaps and create a seamless finish.
- Install any remaining hardware, such as handles, knobs, or pulls, to complete the look.
- Wipe down the cabinet surfaces and clean the kitchen thoroughly to enjoy your stunning new cabinetry.
Your kitchen cabinet installation is now complete. You’ve created a beautifully organised and functional cooking space15.
“Attention to detail is key when it comes to completing a kitchen cabinet installation. Taking the time to ensure everything is properly aligned and secured will result in a professional, long-lasting finish.”
The final steps are crucial in cabinet installation. Pay close attention to finishing touches. This ensures a fantastic-looking kitchen that works seamlessly for years131415.
Conclusion
This guide has shown you how to install wall cabinets in your kitchen. You’ve learnt about tools, marking walls, locating brackets, and hanging cabinets16. Properly mounted kitchen cabinets greatly improve your kitchen’s look and function16.
By using these expert tips, you can create a stunning, practical kitchen space. Accurate measurements are vital for ensuring cabinets fit perfectly16. Always prioritise safety and follow the manufacturer’s instructions for the best results.
For more kitchen renovation advice, check out our Howdens kitchen installation guide. You can also read our comprehensive guide on installing kitchen cupboards. These resources will help you improve your kitchen’s beauty and functionality.
Don’t forget to explore our guide on installing a kitchen sink. It’s another useful skill for your kitchen renovation project.
FAQ
What tools and materials are required for installing wall cabinets in the kitchen?
Essential tools include a step ladder, spirit level, and pipe detector. You’ll also need a drill, screwdriver, rulers, tape measure, and a pencil. Don’t forget protective goggles and gloves for safety.
Key materials are the wall cabinets, wall plugs, and screws.
How do I mark the wall for cabinet placement?
Use a spirit level to mark the bottom and side edges of the cabinets. Wall cabinets are typically placed 450-500mm above the worktop. Ensure all corners are clearly defined for precise layout.
How do I locate and fix the wall brackets for the cabinets?
Check the manufacturer’s instructions for correct bracket placement. Each unit usually needs two brackets, one in each top corner. Mark the hole positions and check for obstructions with a pipe detector.
Drill the holes, insert wall plugs, and securely screw the brackets into the wall.
What is the process for hanging the wall cabinets?
Lift the cabinet above the brackets and lower it carefully. Large cabinets may require assistance. Use a spirit level to ensure the cabinet is level.
Adjust the height of the brackets using the adjuster block if needed.
How do I make adjustments to the installed wall cabinets?
Adjust cabinets using the adjuster blocks inside and screws on the hinges. Support the cabinet while making adjustments to prevent sudden changes. Follow the manufacturer’s instructions and use a spirit level for proper alignment.
What are the finishing touches for the wall cabinet installation?
Install additional hardware like door hinges or soft-close mechanisms. Ensure all cabinets are securely fastened to the wall. Double-check the alignment and level, making final adjustments as needed.