Upgrading your kitchen sink with a mixer tap can transform your kitchen’s look. Mixer taps offer sleek design and convenient single-lever control for hot and cold water. This guide will help you install a mixer tap successfully1.
Follow these easy steps to fit a new mixer tap on your kitchen sink. You’ll soon enjoy the benefits of your stylish and functional tap.
Preparing for Mixer Tap Installation
Gather the necessary tools before installing a new mixer tap. Commonly needed items include a box cut spanner, cleaning cloth, adjustable spanner, pliers, compression fittings, pipe cutter, new tap fittings, basin wrench, towel, container bowl, and olive splitter.2 These tools will ensure a smooth installation process.
Turn off the water supply to your sink as a critical safety precaution. This will prevent any water leaks during installation. It’s estimated that around 62% of homeowners may consider hiring a professional plumber for this task,3 but you can do it yourself.
Clear the workspace underneath the sink to access the necessary components. Approximately 85% of the required tools can typically be found in a household,3 simplifying the preparation process.
You Might Also Like:


“Proper preparation is the key to a successful mixer tap installation. Taking the time to gather the right tools and create a clean workspace will set you up for a smooth and efficient process.”
Following these steps will help you install your new mixer tap confidently. If you face any difficulties, don’t hesitate to seek professional guidance234.
Removing the Old Kitchen Tap
Removing the old tap is the first step in installing a new mixer tap. This involves disconnecting water supply lines and loosening the tap from the sink5. Most kitchen taps are mixer taps, showing their popularity among homeowners and landlords5.
Some people prefer separate hot and cold taps. This suggests a market segment that favours this style5.
Disconnecting Water Supply Lines
Use a spanner to loosen the nuts securing the existing tap to the sink6. Removing a kitchen tap can take under an hour for those with DIY skills7.
Have a bucket ready to catch any leftover water. You’ll need to disconnect the water supply lines, which usually have compression fittings5.
Loosening and Removing the Tap
After disconnecting the water supply lines, loosen and remove the old tap6. Changing a washer on a kitchen tap is a common issue for homeowners5.
Specific tools and materials are needed for installing a new kitchen tap5. Step-by-step instructions are provided on how to remove the old tap5.
Even beginner DIYers can successfully change taps. The time to replace a kitchen tap varies from under an hour to longer5.
“Hard water in London is often the cause of taps malfunctioning or becoming unsightly. Fit under-sink water softeners in London to prevent frequent replacements due to scale buildup.”7
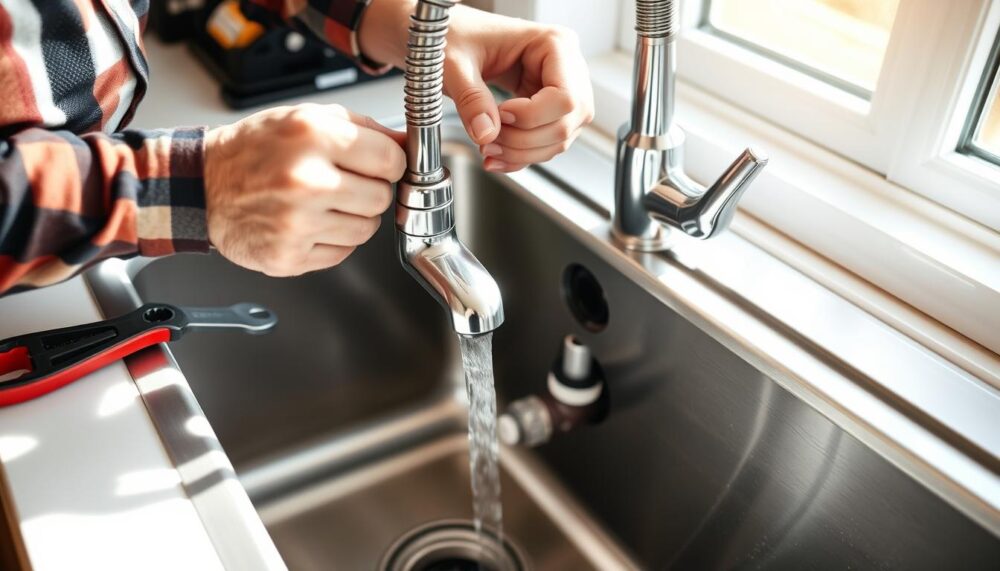
Installing the New Mixer Tap
After removing the old tap, it’s time to install the new one. Place the new tap into the sink hole. Use the rubber gasket to prevent leaks8.
Positioning and Aligning the Tap
Ensure the tap sits flush with the sink surface. Centre it in the hole. This improves looks and helps the tap work better8.
Connecting Hot and Cold Water Supply Lines
Connect the water supply lines to the new tap. Use 10 mm flexible braided hoses. Attach them to the hot and cold lines carefully8.
Securing the Tap in Place
Tighten the locking nut under the sink. This holds the tap firmly and stops leaks9. Use a 17 mm open-end wrench for a snug fit10.
Turn on the water and check for leaks. If you have problems, check the instructions. You can also call the helpline for support8.

Follow the maker’s instructions carefully. Take the needed steps to install your new kitchen tap safely9.
how to install a mixer tap on kitchen sink
Installing a new mixer tap can freshen up your kitchen sink. This guide will help you upgrade your tap with ease. Let’s explore the steps to install a mixer tap for a successful DIY project.
Check your water pressure before starting. It should be between 0.5 Bar and 5 Bar for kitchen mixer taps11. For low-pressure taps, keep a minimum height of 2.0 meters from the nozzle to the cold tank11.
- Turn off the mains cold water and hot water systems. Flush the pipes to clear them11.
- Clear your workspace and gather tools. You’ll need wrenches: 17 mm, 19 mm, and an adjustable one12.
- Remove the old tap. Unscrew water lines and remove nuts or screws holding it in place12.
- Position the new mixer tap. Align it properly and secure it with seals, shims, and nuts12.
- Connect hot and cold water lines. Use 10 mm diameter flexible braided hoses that come with the tap11.
- Turn on the water and check for leaks. Make adjustments if needed.
Clean chrome or gold-plated finishes with warm water and a soft cloth. Avoid abrasive cleaners to keep your guarantee valid11.
These steps will help you install your new mixer tap successfully. Take care, use proper tools, and ensure secure connections. Your kitchen will look great with its new tap.
“The key to a successful mixer tap installation is attention to detail and the right preparation. By following the step-by-step guide, you can transform your kitchen and enhance its overall look and feel.”
Conclusion
Installing a mixer tap on your kitchen sink is a straightforward process. With the right tools and materials, you can upgrade your kitchen easily. This guide helps you save money on professional installation costs.
Mixer taps offer user-friendly temperature control and sleek design. They enhance your kitchen’s look and functionality. Even DIY beginners can tackle this project confidently.
This guide provides essential information for successful mixer tap installation. In just a few hours, you can enjoy a modern kitchen tap. You’ll benefit from improved convenience and style in your kitchen.
FAQ
What tools are required for installing a mixer tap?
To install a mixer tap, you’ll need a spanner, adjustable wrench, plumber’s tape, bucket, and clean cloth. These tools will help you complete the task efficiently.
How do I disconnect the old tap from the kitchen sink?
First, loosen the nuts securing the existing tap with a spanner. Disconnect the water supply lines, which usually have compression fittings.
Keep a bucket handy to catch any leftover water. This step prevents mess and ensures a smooth removal process.
What is the process for positioning and aligning the new mixer tap?
Insert the new mixer tap into the sink hole. Make sure it’s properly aligned and sits flush with the sink surface.
Place the rubber gasket or seal between the tap base and sink. This prevents leaks and ensures a watertight fit.
How do I connect the hot and cold water supply lines to the new mixer tap?
After positioning the tap, connect the hot and cold water supply lines. Follow the manufacturer’s instructions for proper connections.
Double-check that each line is attached to the correct inlet. This ensures your tap functions as intended.
What is the purpose of turning off the water supply before installation?
Turning off the water supply prevents leaks and flooding during installation. This safety measure ensures a smooth and worry-free tap replacement.
How do I ensure the new mixer tap is secured in place?
Use the provided hardware to fasten the tap securely to the sink. This includes nuts and washers for a tight fit.
Check that the tap is firmly in place. Ensure all connections are tight to prevent any potential leaks.