A new sink tap can revamp your kitchen’s look and functionality. This guide will help you install a kitchen sink tap with ease. Check out this step-by-step installation guide for a flawless tap replacement.
Replacing a kitchen tap usually takes under an hour for experienced DIYers. The process involves turning off the water and disconnecting the old tap. You’ll need tools like spanners, wrenches, pliers, and screwdrivers.
Pipe cutters and compression fittings are also helpful for the job1. Your skill level affects how long the installation takes. Experienced DIYers can finish faster than beginners.
Following instructions and using proper tools ensures a successful tap installation. With the right approach, you’ll have a long-lasting and functional new kitchen tap.
Preparation: Gather the Required Tools
Collecting the right tools is vital for installing a new kitchen sink tap. Having everything ready will make the process smoother and more efficient. You’ll need kitchen sink tap installation tools, DIY plumbing tools, and essential tools for tap replacement2.
Essential Tools for the Job
Key tools include a tape measure, pencil, jigsaw, clamps, and silicone sealant. Don’t forget the new kitchen sink tap and its fittings2.
You Might Also Like:


Also useful are a flat blade screwdriver, Pozidriv screwdrivers, a bucket, and a cloth. For safety, wear eye protection glasses and gloves during installation3.
“Gathering all the required tools beforehand will help streamline the installation process and avoid any delays.”
With these tools ready, you’ll be set to install your new tap confidently. Proper preparation ensures a smooth and efficient job2.
Step-by-Step Guide to Remove the Old Tap
Replacing an old kitchen sink tap is a simple task. You don’t need a professional. Gather essential tools like an adjustable spanner, pliers, and a screwdriver45.
Turn Off the Water Supply
First, turn off the water supply using isolating valves or the main stopcock4. This step prevents leaks during tap removal6.
Disconnect the Tap from the Mains Water Supply
Next, disconnect the tap from the mains water supply. Use an open-ended spanner to loosen the nut where the tap joins the pipe4.
Be careful during this step. Some water may remain in the pipes, causing leaks5.
Extracting the Existing Taps
Now, carefully extract the existing taps4. You may need pliers or a basin wrench, depending on the tap type5.
Take note of any washers or seals that need removal4. Handle pipes and fittings with care to avoid damage5.
You’ve now successfully removed the old kitchen sink tap. This paves the way for your new tap installation4.
“Replacing a kitchen tap is a relatively straightforward task that can be completed by most homeowners, even those with limited DIY experience.”
Cleaning and Preparing the Mounting Surface
After removing the old tap, clean the mounting surface thoroughly. Remove any residue from the open mains pipe connections. Gently scrape off remaining sealants or gaskets to ensure a smooth surface7.
Use a damp cloth to wipe away dust or debris. This creates a clean mounting surface, essential for successful tap installation8.
Inspect the mounting area for damage or wear. If needed, lightly sand the surface to remove uneven spots. This ensures a level foundation for the new tap8.
“Proper preparation of the mounting surface is key to a long-lasting and trouble-free tap installation.”
Thorough cleaning and preparation set the stage for smooth installation. This attention to detail helps prevent future issues. Your efforts will ensure a secure and stable new tap78.
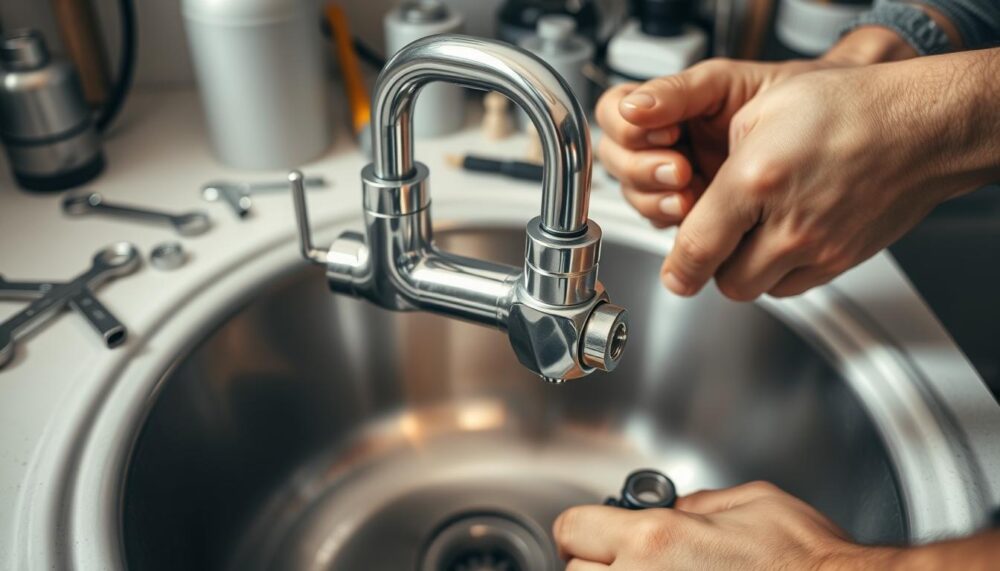
how to install a kitchen sink tap
It’s time to fit your new kitchen tap. Apply PTFE tape to the mains connection threads. Feed the hoses through the location hole. Secure the tap, ensuring proper alignment of seals, washers, and retaining plates9.
Follow the manufacturer’s instructions carefully. This ensures a smooth installation process9.
Mounting the New Tap
Place the new tap in the designated spot on your kitchen sink. Ensure proper alignment before securing it. Use a 17 mm and 19 mm open-end wrench to tighten connections9.
Reconnecting to the Mains Supply
Now, reconnect the mains water supply. Hand-tighten connections first to avoid cross-threading. If you have hard water, flush the network to prevent tap issues9.
After installation, check for any leaks. Proper sealing is crucial for a secure, leak-free fit. Various seal types are recommended9.

“The step-by-step approach to installing a kitchen sink tap provided in this guide is extremely helpful, ensuring a seamless and successful installation process for users.”
With the right tools and these instructions, you can easily fit a new kitchen tap. You’ll reconnect it to the mains supply confidently9.
This guide covers all essential steps to install a kitchen tap efficiently. It’s useful for both DIY fans and those seeking professional results10.
Turn On the Water and Test for Leaks
It’s time to check your new kitchen sink tap for leaks. Slowly open the valves to let water flow through the system11. This step helps spot issues before they cause water damage.
Use tools to inspect tap connections for leaks11. Look for drips around the tap base, supply lines, and fittings. If all’s dry, gradually open the taps.
Don’t worry if you spot leaks. Turn off the water and tighten connections or re-seal with plumbers tape11. Test again until you’re sure it’s watertight.
“Turning on the water and checking for leaks is a crucial final step in the kitchen sink tap installation process. Ensuring a secure, watertight connection is essential to avoid potential water damage and unexpected repair costs.”
Even a small drip can quickly cause bigger problems12. Take time to test the new tap thoroughly. This will give you peace of mind.
If you face issues during testing, seek help from a professional plumber12. They can fix problems and ensure your new tap works properly.
Conclusion
You’ve now fitted your new kitchen sink tap successfully. Take your time, use proper tools, and follow the maker’s guide carefully. With patience and care, you’ll soon enjoy your upgraded kitchen with a lovely new tap13.
Updating your kitchen tap is a budget-friendly way to refresh your space. You can do it yourself without hiring a pro14. Choose from various finishes like chrome, bronze, or brushed nickel to match your style14.
The job might seem tricky at first, but the right tools make it easier15. You’ll need an adjustable spanner, monobloc tap spanner set, and perhaps a pipe cutter15.
Follow these key steps: turn off the water, disconnect pipes, and tighten nuts securely15. This way, you’ll achieve a smooth, leak-free installation of your new kitchen tap15.
FAQ
What tools are required for the kitchen sink tap installation?
You’ll need a tape measure, pencil, jigsaw, clamps, and silicone sealant. Don’t forget your new kitchen sink tap and its fittings. These tools are crucial for a smooth installation process.
How do I remove the old tap?
First, turn off the water supply using isolating valves or the main stopcock. Then, disconnect the tap from the mains water supply. Use an open-ended spanner to loosen the nut where the tap joins the pipe.
Carefully remove the existing taps. Take note of any washers or seals that might need replacing. This step ensures a clean slate for your new tap.
How do I prepare the mounting surface for the new tap?
Clean the open mains pipe connections thoroughly. Gently scrape off any remaining sealants or gaskets. This creates a clean surface for your new tap to sit on.
What are the steps to install the new tap?
Start by following the manufacturer’s instructions carefully. Apply PTFE tape to the mains connection threads. Feed the hoses or connections through the location hole.
Secure the tap in place. Ensure all seals, washers, and retaining plates are properly aligned. Reconnect the mains supply, starting the threads by hand to avoid cross-threading.
How do I check for leaks after the installation?
Slowly turn on the water supply after completing the installation. Check for any leaks around the tap connections. If everything looks good, gradually open the taps and enjoy your new kitchen sink tap.