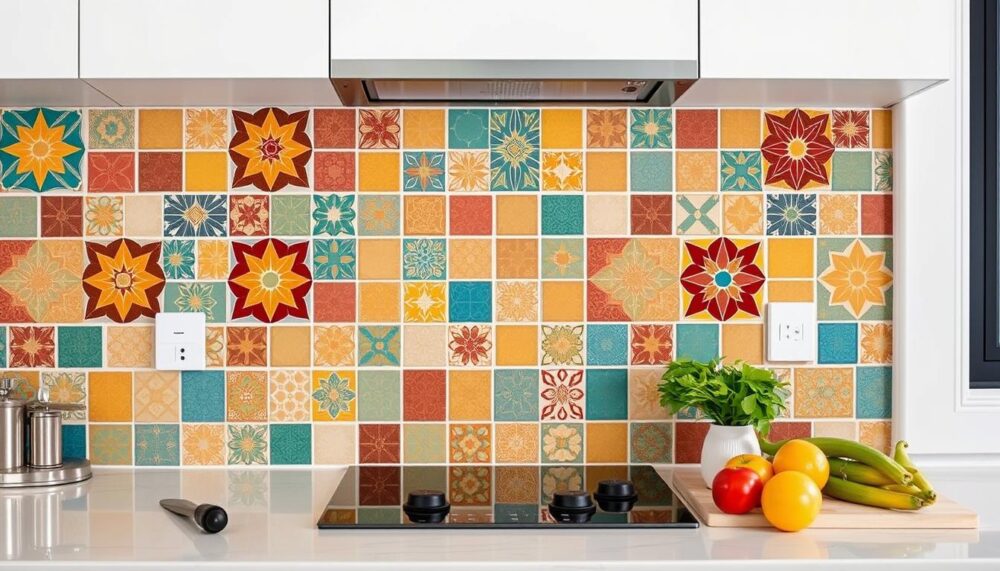
Turning your kitchen into a stunning space with a tile backsplash is easy and fun. It can be done in about1 4 hours. You can choose from classic subway tiles, elegant marble mosaics, or modern peel-and-stick options. This guide will help you every step of the way, making your kitchen look amazing.
For a great tile backsplash, start with good preparation and focus on the details. You’ll need the right adhesives and tiles, and you’ll have to measure and cut carefully. Each step in this guide is here to help you create a beautiful, lasting backsplash. With the right tools and effort, your kitchen will get a modern look without big renovations.
Essential Tools and Materials for Backsplash Installation
Before starting your kitchen backsplash project, make sure you have the right tools and materials. Careful planning and preparation are vital for a professional look. Let’s look at the key items you need for a successful backsplash installation.
Required Tools and Equipment
You’ll need a level, measuring tape, and a tile saw or manual cutter for your project2. Tile nippers, a utility knife, grout float, and sponge are also essential. These tools help with measuring, cutting, and installing tiles, as well as applying grout and finishing the job. A laser level is also recommended to ensure tiles are straight and aligned3.
Types of Tiles and Adhesives
There are many tile options, like ceramic, mosaic, and peel-and-stick tiles. Each has its own needs and look. For adhesive, you can choose MusselBound tile adhesive mat or traditional thinset mortar4. Your choice depends on the tiles you pick and your kitchen wall’s condition.
Safety Equipment and Surface Protection
Keeping safe during installation is crucial. Wear goggles, gloves, and a dust mask to protect yourself when cutting and grouting tiles2. Use painter’s tape and plastic or paper to cover countertops and cabinets. This prevents damage or mess during the installation2.
You Might Also Like:


| Item | Cost |
|---|---|
| Tile (75 sq ft) | $8254 |
| Tile Adhesive (75 sq ft) | $1254 |
| Trim | $194 |
| Grout | $40 per gallon4 |
| Tools | $2254 |
| Total Project Cost | $1,2344 |
With the right tools, materials, and safety gear, you’re set for a successful backsplash project. Remember, focus on detail and preparation for a flawless finish.
Wall Preparation and Planning
Getting the wall ready for a tile backsplash is key. Start by clearing the area and fixing any wall damage5. Spend about half an hour sanding the bottom half of the kitchen walls for a smooth surface5. After cleaning, switch off power to outlets and remove covers and switch plates.
Then, check if the countertop is level. If not, draw a line or attach a ledger board for a straight guide5. Measure the backsplash area and plan the tile layout, focusing on symmetry. Dry lay the tiles to check fit and avoid edge cuts6. Make any needed adjustments before starting the installation. Remember to add 10% more tiles for the whole area6.
Wall preparation and planning are crucial for a great tile backsplash. By fixing wall issues, setting a level, and planning tile layout, you get a professional and lasting backsplash.
How to Install a Tile Backsplash in the Kitchen
Adding a tile backsplash to your kitchen is a fun DIY project. It can make your kitchen look better and work better too. You’ll need to apply adhesive, lay the first row of tiles, and use spacers and patterns. Let’s look at each step to make sure your backsplash turns out great.
Applying Adhesive Materials
First, put the tile adhesive on the wall. If you’re using a MusselBound tile adhesive mat, just cut it to fit and stick it on. Trim it around any obstacles7. For thinset mortar, mix it as the maker says, usually a certain ratio of adhesive to water7. Spread the adhesive evenly with a notched trowel.
Setting the First Row of Tiles
Begin in the middle of the wall and move outwards, leaving a 1/8-inch gap at the top7. Always check with a level to keep the first row straight. This is key for the whole backsplash7. The adhesive is strong, so place tiles carefully as it’s hard to adjust them once stuck.
Working with Tile Spacers and Patterns
Use spacers for even grout lines7. For stacked tiles, line up each row carefully. For brick patterns, offset rows for a nice look7. The adhesive works for about 20 minutes, so work fast to avoid it drying7.
By following these steps and being careful, you can put in a beautiful tile backsplash. Always keep safety first, ask for help when needed, and enjoy making your kitchen look amazing.

“Tile installation requires patience and attention to detail, but the end result is a visually striking and durable backsplash that can enhance the overall aesthetic of your kitchen.” – Jane Doe, Interior Designer
Cutting and Fitting Tiles Around Outlets and Corners
Installing a tile backsplash means cutting tiles for outlets and corners. Start by measuring and marking the tiles that need cutting. Use a wet saw for precise cuts, especially for tricky angles. A manual tile cutter works well for straight cuts8.
To make outlets fit perfectly, use box extenders9. For cuts around outlets or corners, take precise measurements. Use tile nippers for small adjustments9. Always wear safety gear to avoid injury.
- Measure the area for the backsplash, including the square footage of the tiles8.
- Buy 10 percent extra tile for damages or mistakes8.
- Choose the right grout based on the tile type8.
- Use hundreds of tile spacers during installation8.
- Wait 24 hours for the thinset to dry before grouting8.
For a smooth finish, avoid grouting gaps. Use caulking for edges instead8. Always follow the grout manufacturer’s instructions8.
| Item | Cost |
|---|---|
| Plastic electrical receptacle extension rings | $1 to $39 |
| Tile nippers for mosaic tiles | $10 to $159 |
| Angle grinder with diamond stone or tile-cutting disc | For cutting large tiles in the middle9 |
| Protective floor paper | Typically found in rolls sized 36 inches by 100 feet9 |
When applying grout, spread it diagonally with a tile float. Clean excess with water and sponges in a diagonal pattern8. After curing, apply a grout sealer for easy upkeep and less staining10.
“Attention to detail is essential when cutting tiles around outlets and corners. Take your time, measure carefully, and don’t be afraid to make practice cuts to ensure a perfect fit.”
By following these steps and using the right techniques, you can create a beautiful backsplash. Even tricky areas around outlets and corners can look great8910.
Grouting and Finishing Touches
Now that the tiles are in place, it’s time for the final steps: grouting and finishing. Choose pre-mixed and pre-sealed grout for an easy grouting process. Use a rubber float at a 45-degree angle to fill the gaps diagonally11. Let the grout dry as the maker says, then clean off any extra with a damp sponge.
After drying, wipe the tiles with a clean cloth to remove any haze. This makes sure the grout looks clean and even.
Cleaning and Sealing
Applying a grout sealer is the next step for a professional look. It keeps the tiles safe from stains and moisture11. Once the sealer is dry, focus on the outlet covers and trim.
Install box extenders for the outlets to blend the tiles and covers smoothly11. Painting the outlet covers to match the tiles adds to the look11.
Installing Outlet Covers and Trim
Seal any gaps between the countertop and backsplash with flexible caulk11. This step makes your kitchen look finished and keeps water out. With the caulking done, your backsplash is ready to enjoy12.
Pay attention to detail and use gentle cleaners. This will keep your tile backsplash looking great for many years.
FAQ
What is the difficulty level of installing a tile backsplash?
Installing a tile backsplash is easy. It’s a DIY project that beginners can do with little skill.
What are the essential tools and materials needed for a tile backsplash installation?
You’ll need a level, measuring tape, and a tile saw or cutter. Also, tile nippers, a utility knife, and a grout float. Don’t forget a sponge, tiles, and adhesive or thinset mortar.
Grout, tile spacers, and caulk are also needed. Safety and protection items like painter’s tape and plastic or paper are a must.
What types of tiles can be used for a backsplash?
You can choose from ceramic, mosaic, or peel-and-stick tiles. The right choice depends on your taste and the look you want.
How long does it take to install a tile backsplash?
It takes about 4 hours to complete. This makes it a quick and simple project.
What are the key steps in preparing the wall for tile installation?
First, clear the area and fix any wall damage. Then, clean the walls well and turn off power to outlets. Remove outlet covers and switch plates too.
How do you lay the first row of tiles?
Start from the centre and work outwards. Leave a 1/8-inch gap at the countertop. Always use a level to keep things straight.
How do you cut tiles to fit around outlets and corners?
Use a wet saw for precise cuts, especially for tricky angles. A manual tile cutter works for straight cuts. For outlets, use extenders to keep them level.
Measure carefully and use tile nippers for small adjustments.
How do you grout and seal the tile backsplash?
Apply grout at a 45-degree angle with a rubber float. Make sure all joints are filled. Wait as instructed before cleaning with a damp sponge.
Caulk the gap between the countertop and backsplash, and any wall corners. This will give a professional finish.