Installing wall kitchen cabinets is a rewarding DIY project. It can change your kitchen’s look and function. This guide offers step-by-step instructions for a professional finish, saving you money on installation costs. It’s perfect for both seasoned DIYers and first-timers, providing the tools, preparation, and techniques needed12.
This guide teaches you to measure, level, and attach your cabinets securely. You’ll learn about the essential tools and materials, marking layout lines, and finding wall studs. Plus, you’ll get tips on aligning and levelling for a top-notch finish12.
With detailed instructions and helpful tips, you can confidently update your kitchen. You’ll save time and money. Embrace the DIY spirit and lead your kitchen renovation with this guide on installing wall kitchen cabinets12.
Essential Tools and Materials Required
For a successful wall cabinet installation, you need the right tools and materials. Having the correct cabinet installation tools, levelling equipment, and mounting hardware is key. This makes the process smoother and leads to a professional finish. Let’s look at the must-have items for this DIY project.
Basic Hand Tools
You’ll need a screwdriver, drill, and hacksaw for the job. These tools help you secure the cabinets, make openings, and adjust as needed3.
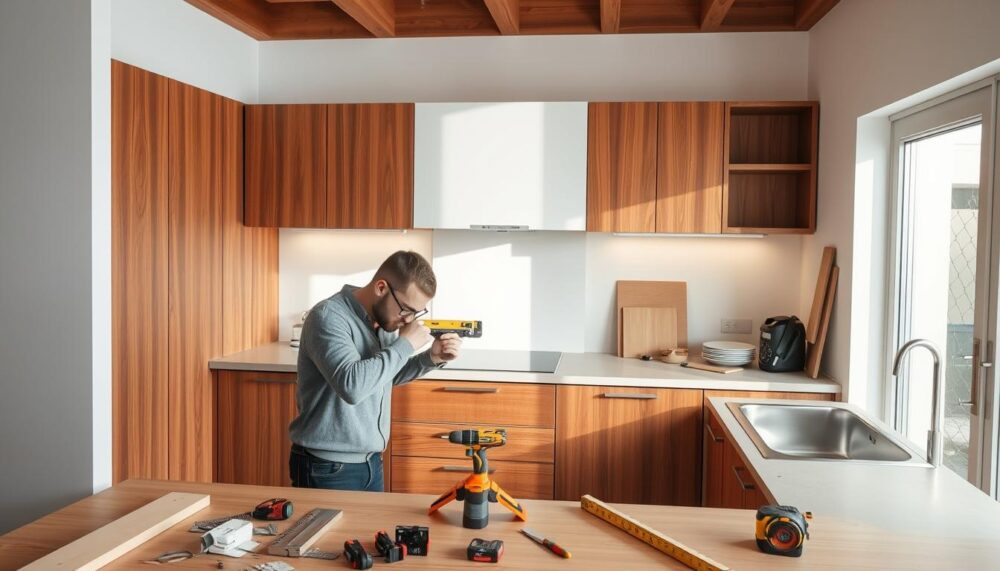
Measuring and Levelling Equipment
Accuracy is crucial when installing wall cabinets. You’ll need a tape measure, spirit level, and laser level. These tools help mark the layout, ensure measurements are right, and check the cabinets are level4.
You Might Also Like:


Hardware and Fixtures
Don’t forget the cabinet screws, wall fixings, brackets, and hinges. These are vital for mounting the cabinets securely and making them work smoothly3.
| Tool or Material | Purpose |
|---|---|
| Screwdriver | Securing cabinets and hardware |
| Drill | Creating necessary openings |
| Hacksaw | Making adjustments during installation |
| Tape Measure | Measuring for precise layout |
| Spirit Level | Ensuring cabinets are level |
| Laser Level | Confirming level lines for placement |
| Cabinet Screws | Securing cabinets to the wall |
| Wall Fixings | Attaching brackets to the wall |
| Brackets | Supporting and mounting the cabinets |
| Hinges | Enabling smooth cabinet door operation |
With the right cabinet installation tools, levelling equipment, and mounting hardware, you’re ready to start. You’ll be confident and achieve top-notch results34.
“Proper preparation and the right tools are the foundation for a successful DIY kitchen cabinet installation.”
Preparation Steps Before Installation
Getting your kitchen ready is crucial for installing wall cabinets right. First, remove any old cabinets and fix any wall damage5. Next, draw a detailed plan on graph paper, taking exact measurements. Mark the highest spot on the wall for the cabinets.
Find and mark the wall studs for strong mounting5. Make sure to turn off power and water before starting. Finally, paint the walls and ceiling first for a clean look6.
Experts say buying preassembled cabinets can save time but costs more and might get damaged5. Upper cabinets go about 18 inches above the counter, adjusting for different countertop thicknesses5. Installing cabinets needs some DIY skills, focusing on accurate measurements and ensuring cabinets are straight5.
- Clear the kitchen of all items for a safe workspace.
- Remove old cabinets carefully to avoid wall damage6.
- Check the walls for holes or damage and fix them for a smooth surface6.
- Measure the kitchen and plan cabinet placement, considering any obstacles6.
- Find and mark the wall studs for a secure cabinet base5.
If the floor is uneven, use adjustable legs and shims for small differences5. For bigger issues, you might need to level the floor5. Shims help with gaps between cabinets and uneven surfaces5.
By preparing well, you’ll make installing wall cabinets easier and more successful567.
How to Install Wall Kitchen Cabinets
Installing wall kitchen cabinets right is key for a safe and good-looking kitchen. You need to mark where they go, put up mounting brackets, and more. Here’s how to do it step by step.
Marking the Layout Lines
Start by drawing lines on the wall with a spirit level. These lines show where your cabinets will go8. Make sure they’re level and evenly spaced for a solid base.
The space above your worktop for wall units should be about 450-500mm8. This ensures your cabinets fit well and look right.
Locating Wall Studs
Finding where the wall studs are is important for fixing your cabinets. Use a stud finder or multi-detector tool to mark them9. Always use wall plugs when installing cabinets8.
Mounting Bracket Installation
Read the instructions to install the mounting brackets correctly. Make sure they’re securely attached to the wall, matching the stud marks810. Some cabinets are screwed in, while others hang on brackets10.
With everything marked and brackets installed, you’re ready to hang your cabinets. Lift them up and attach them to the brackets. Use screws to adjust them if needed810. Double-check they’re level and adjust if necessary.
By following these steps, you can install your wall kitchen cabinets successfully. This will give you a strong and attractive storage area8109.
Installing Base Cabinets First: A Foundation Guide
Starting with base cabinets is key in a kitchen renovation. They form the base of your cabinetry system11. This approach makes installation easier and ensures your upper cabinets are stable and level11.
First, mark the wall with layout lines to guide your base cabinets11. Find the wall studs to anchor the cabinets securely11. Use a spirit level to check if the cabinets are straight and adjust the legs if needed11.
When fitting appliance cabinets and sink bases, measure carefully for a perfect fit11. This detail work saves time and avoids changes later11.
If your walls are uneven, use shims to keep cabinets square and level11. This is vital for your cabinetry’s stability11.
Connect base cabinets together with screws or bolts for a solid base11. Install corner posts to hide gaps between cabinets11.
By following these steps, you’ll set a strong foundation for your kitchen renovation11. The effort you put in here will help as you install the rest of your kitchen11.
| Cabinetry Upgrade Trends | Percentage |
|---|---|
| Replacing all cabinets | 77%12 |
| Opting for stock cabinets | 6%12 |
| Types of kitchen cabinets |
|
It’s wise to remove door and drawer fronts for easier installation12. This also protects the cabinet surfaces from damage12.
Use the right tools like tape measures and drills for a successful installation11. This ensures a smooth kitchen renovation11.
“Aligning the base cabinets perfectly is crucial, as they serve as the foundation for the entire cabinetry system12. Use shims if the floor is uneven to guarantee a level installation.” – John Doe, Kitchen Design Expert
Plan your floor installation with your cabinetry to avoid delays11. Also, consider using 1-by-2s for support where needed11.
Focus on base cabinets for a successful kitchen renovation11. The effort you put in here will benefit the rest of your project11.
Based on the statistical data extracted from link 112. Based on the statistical data extracted from link 2.
Cabinet Alignment and Levelling Techniques
Creating a beautiful kitchen begins with aligning and levelling cabinets13. Choose two-tone schemes, like white upper and painted lower cabinets13. Look for quality cabinets that match your budget13.
Using Shims and Spacers
Shims and spacers are key for cabinets on uneven floors14. First, mark the wall and find the studs for a solid base14. Then, adjust the cabinets with shims for a perfect level.
Adjusting Cabinet Doors
Getting cabinet doors just right is essential for a pro finish. Use hinge screws to adjust the doors for even gaps and smooth opening.
Fine-tuning Drawer Alignment
Aligning drawers adds the finishing touch to your kitchen14. Adjust the runners and fronts for smooth drawer movement and even gaps14. KOMPLEMENT drawers fit 23″ deep cupboards, while SEKTION drawers are for deeper ones14.
Mastering these techniques can turn your kitchen into a seamless, beautiful space13. Use essential tools like a tape measure and laser level13. Plan ahead and watch tutorials for a smooth installation13. Always read the cabinet manuals carefully13.
“The key to a stunning kitchen is in the details – from perfectly aligned cabinets to smooth-gliding drawers.”
Common Installation Challenges and Solutions
Installing kitchen cabinets can be a fun DIY project, but it has its challenges. Issues like uneven walls and misaligned doors can be frustrating. But, with the right tools and a bit of effort, you can fix these problems.
Uneven walls are a common problem. They can make cabinets look off. To fix this, use scribing techniques for a smooth fit15. Shims can also help level the cabinets, making them look seamless.
Misaligned cabinets can be a big headache. If doors don’t close right, the hinges might need adjusting15. Just tweak the screws to fix it. For bigger gaps, filler strips can help make everything look together.
| Common Installation Challenges | Troubleshooting Solutions |
|---|---|
| Uneven walls | Use scribing techniques and shims to level cabinets |
| Misaligned cabinets | Adjust hinge screws and install filler strips |
| Hardware misalignment | Carefully measure and mark cabinet layout before installation |
| Gaps between cabinets and walls | Use filler strips to cover unsightly gaps |
Good planning and attention to detail can help avoid common problems16. Double-check your measurements and use a spirit level often. This way, you can avoid many issues15. With patience and the right methods, you can solve even the toughest cabinet installation problems.

“Accurate measurements and proper planning are essential for a successful kitchen cabinet installation. Overlooking these details can lead to major delays and frustration down the line.”
Conclusion
Installing wall kitchen cabinets can be tough, but it’s doable with the right plan and tools. This detailed guide shows you how to do it step by step. You’ll be able to transform your kitchen and feel proud of your work.
The task needs some carpentry skills, rated 3 out of 5. It starts at £100 to £200 per foot, depending on your kitchen size and materials17. It takes 8 to 10 hours for an average kitchen, showing it’s a big job17. You’ll need to buy materials and tools, adding to the cost17.
While pros can do it faster and better, DIY saves money but takes time and skill17. Before you start, check your walls and floors, find studs, and do any electrical work needed17. Also, keep your cabinets clean, fix loose parts, and use liners to avoid damage17.
FAQ
What tools and materials are needed for wall cabinet installation?
You’ll need a screwdriver, drill, and hacksaw. Also, a tape measure, spirit level, and laser level are crucial. Don’t forget cabinet screws, wall fixings, brackets, and hinges.
How do I prepare the wall for cabinet installation?
Start by removing old cabinets and fixing any wall damage. Make a detailed layout plan. Mark the wall’s highest point and locate studs.
Disconnect power and water supplies. Apply the first coat of paint to walls and ceilings.
What are the key steps for installing wall cabinets?
Mark guidelines for cabinet placement. Locate and mark wall studs. Install mounting brackets and hook cabinets onto them.
Use adjustment screws to align them accurately.
Why is it important to install base cabinets first?
Base cabinets are the foundation for wall cabinets. Begin with corner units and work outwards. Use a spirit level to ensure they are level and plumb.
How do I ensure proper cabinet alignment and levelling?
Use shims and spacers for uneven floors. Adjust cabinet doors with hinge screws. Fine-tune drawer alignment by adjusting runners and fronts.
What are some common installation challenges and how can they be addressed?
Challenges include uneven walls, misaligned cabinets, and gaps between units. Use shims for levelling and adjust hinges for alignment.
Install filler strips to cover gaps.